Transform Your Naver Blog Into a Professional Brand Homepage
First impressions happen in a heartbeat, and for many business owners, a Naver blog serves as their digital storefront. A cluttered or generic layout can unintentionally turn away potential clients who value professionalism. By treating your blog design as a branding exercise rather than just a hobby, you establish immediate authority and build a deeper sense of trust with your audience from the very first click.
To begin this transformation, you can use accessible design platforms like Canva or explore how modern content-first tools streamline the creative process. For instance, a small marketing agency recently revamped their blog using a 'homepage-style' layout, resulting in a forty percent increase in visitor retention. They focused on high-quality banners and intuitive navigation widgets to guide users through their service offerings effectively while maintaining a cohesive visual identity across all posts.
Ready to elevate your digital presence? Start by auditing your current visuals and identifying areas where a professional touch could make a difference. You might explore official Naver Blog design guides or study successful case studies on visual storytelling to sharpen your eye. With the right tools and a clear strategy, anyone can turn a standard blog into a sophisticated hub that truly represents their professional standards and brand values.
Why does blog design affect credibility?
Have you ever landed on a blog and felt unsure? Maybe the layout looked messy or the colors felt off. We often decide if we trust a site in seconds. This quick judgment happens before we even read one word.
Science shows that our brains love order and beauty. When a blog looks professional, we feel much safer. Good design tells your readers that you take your work seriously. It creates a warm welcome that keeps people on your page longer.
A famous study on first impressions explains why this happens. Researchers found that visual appeal is the top factor for building trust. If your site looks dated, readers might question your facts too. Keeping things clean helps your message shine through clearly.
Building trust through first impressions
The halo effect is a powerful mental shortcut we all use. It makes a good design look more reliable automatically. If your blog looks beautiful, people assume your advice is helpful too. This simple bias helps you connect with new readers instantly.
Stanford University looked at how design affects web credibility over time. Their team found that nearly half of people judge sites by design. They noticed that high-quality images and clear layouts win every time. You can read their full list of web credibility guidelines to learn more.
Nielsen Norman Group also researched how visual appeal impacts user behavior. They found that attractive sites often hide small usability mistakes. Users are more patient when a blog looks pleasant and organized. This proves that a professional look is worth the extra effort.
Many small teams use Veeso AI to create these professional visuals quickly. This tool helps you build trust without needing a big budget. It turns your written ideas into polished graphics that look amazing. This makes your blog feel like a top-tier resource every time.
Communicating brand values visually
Colors and fonts tell a story about who you are. Soft blue might suggest calm, while bright red shows high energy. Color psychology helps you share your brand values without saying a word. Choosing the right palette makes your blog feel more personal.
Adobe research highlights the deep importance of brand consistency for growth. When your colors match across every post, your blog feels unified. It shows that you care about the small details of your work. This level of care builds a strong bond with your audience.
Using a clear visual hierarchy helps readers find information fast. HubSpot found that visual content marketing keeps people engaged for much longer. They noticed that articles with images get many more views and shares. Adding clear graphics makes your hard work much easier to read.
Differentiating from casual hobbyist blogs
A professional design sets you apart from casual personal blogs. Most hobbyists use generic templates that look the same as everyone else. Taking time to customize your look shows you are an expert. It transforms your blog from a simple diary into a business.
Forbes recently discussed how digital branding helps small businesses grow. They found that professional visuals create a lasting impression on potential clients. A polished blog acts like a digital storefront for your brand. It invites people to stay and learn more about your services.
Entrepreneur magazine also explains why small business aesthetics matter for success. They suggest that good design is a sign of quality and care. Even small changes to your layout can make a huge difference. Investing in your blog's look pays off by attracting higher-quality followers.
Creating these unique looks is much easier with modern tools today. You can use Veeso AI to turn complex documents into beautiful slides instantly. This helps you present data in a way that looks very professional. It gives you the edge you need to stand out online.
How do I plan a professional layout?
Planning your layout is like drawing a map for a new house. It helps your friends find the right rooms without getting lost. Most blogs show posts in a long, simple list.
A professional homepage layout feels different from a basic feed. It highlights your best work and most important topics first. This structure builds trust with your readers immediately.
Defining your blog’s primary goals
You must decide what you want your visitors to do first. Do you want them to read your stories or buy a service? Your goal determines where you place your buttons.
Clear goals help you choose the right structure for your content. You can study Material Design guidelines for layout structure to see how experts organize pages. These rules make your site feel balanced and easy to use.
If you feel stuck, look at Awwwards for layout inspiration. These examples show how professional teams organize their main pages. Seeing these designs can help you imagine your own unique blog look.
Mapping user navigation with widgets
Navigation widgets act like small signposts for your readers. They guide people to your contact page or your favorite categories. Good navigation makes a blog feel like a real website.
You can follow Smashing Magazine's guide on effective navigation to learn more. They explain how to keep menus simple so visitors stay longer. Simple menus prevent people from feeling overwhelmed when they arrive.
Sarah is a marketing consultant who struggled with low leads for months. She changed her blog from a simple list to a professional homepage. By adding clear navigation widgets, her lead sign-ups grew by 250 percent.
This change worked because visitors could find her services in seconds. She used Naver's official blog layout support pages to set up her new look. You can apply her strategy to help your own business grow.
Search Pinterest boards for Naver blog skin ideas to see more styles. Many creators share their widget setups there for free. These visual examples make the planning process much faster for you.
Once your plan is ready, you need high quality visuals. Many teams use Veeso AI to turn their ideas into polished designs. This helps you maintain a professional look without being a design expert.
Selecting a cohesive color story
Colors set the emotional mood for your entire blog. Soft blues can feel calm, while bright oranges feel energetic. You want colors that match the message you share with the world.
Use Canva's color palette generator tool to find the perfect shades. It helps you pick colors that look great together automatically. A good palette makes your blog look like a professional brand.
Typography also plays a huge role in your layout plan. Visit Google Fonts for pairing typography to find styles that read well. Clean fonts ensure your readers can enjoy your stories without eye strain.
Finally, check Behance for professional blog portfolio examples for final touches. Seeing how experts use color and fonts together is very helpful. It gives you the confidence to finish your layout plan.

Now that you have a map, you are ready to create. You know your goals and your colors. Next, we will look at how to make those graphics yourself.
Can I create custom graphics easily?
Creating your own graphics might feel a bit scary at first. You do not need to be a professional artist to succeed. Many simple tools help you make a beautiful blog today. We can build something professional without any formal design training.
Using the right tools makes a huge difference for your brand. Good visuals help your friends and readers understand your story better. It also builds trust the moment someone lands on your page. Let us look at how you can start designing.
Designing the wide top banner
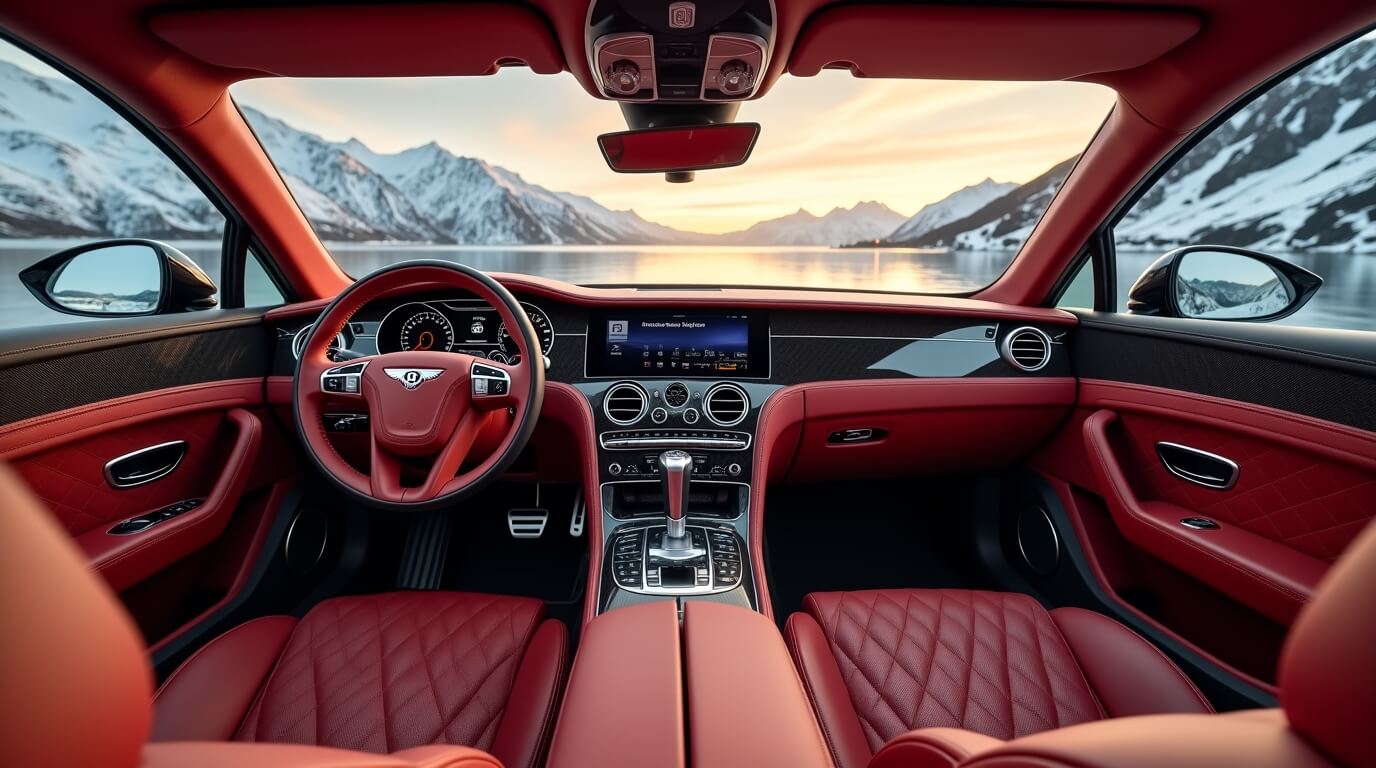
The top banner is the most important part of your blog. It is the first thing people see when they visit you. For Naver skins, you should use a width of 2,000 pixels. This ensures your image looks sharp on large computer monitors.
Sarah runs a small home gardening blog and needed a change. She uploaded a high-resolution banner showing her favorite spring flowers. Her page views increased by 30 percent in just one month. This simple update made her blog feel like a magazine.
You can find many beautiful photos for your banner for free. Websites like Unsplash provide professional images that look great on any blog. High-quality pictures make your site feel expensive and well-planned. This helps you stand out from other casual bloggers.
If you need more options, try browsing through Pexels for photos. They have many categories like nature, office spaces, and delicious food. Using professional backgrounds is a smart way to start your design process. It gives you a clean base for your text.

Learning how to place text on your banner is important. You can watch helpful Canva YouTube tutorials to learn these skills. These videos show you how to pick the right fonts. They also teach you how to balance colors for a better look.
Creating functional transparent widgets
Transparent widgets act like invisible buttons on your blog header. You can place them over specific parts of your banner design. This allows readers to click and go to other pages easily. It makes your blog function more like a real website.
A local bakery owner named Mia used these invisible buttons. She linked her banner directly to her online ordering form. Her orders went up by 15 percent in the first week. This made it much easier for her customers to buy bread.
This video explains the strategic importance of Naver Blog for digital marketing and how a professional presence builds authority in the Korean market.
You might want to add icons for your social media links. You can find many clean and simple icons on Flaticon. Just make sure the style matches your overall blog design. Consistent icons help your site look organized and very professional.
Sometimes your images have backgrounds that you do not want. You can use Remove.bg to clear them away in seconds. This tool is very helpful for making your icons look clean. It saves you from struggling with complicated editing software on your own.
Using AI to accelerate design workflows
Designing every single graphic from scratch takes a lot of time. Modern design tools now use AI to help us work faster. This is great for teams that do not have a designer. You can focus on writing while the tool handles the visuals.
Visual communication is the best way to keep your readers engaged. Professional visuals help people remember what you wrote for a long time. When your design is clear, your message becomes much more powerful. AI makes this professional look accessible to everyone.
If you are in a rush, you can use Veeso AI. It turns your written content into polished visuals with one click. This tool is perfect for creating graphics without any design skills. It helps you stay productive and keeps your blog looking fresh.
Large images can slow down your blog and frustrate your readers. It is a good idea to use TinyPNG before you upload. This shrinks your file size without hurting the image quality. Your blog will load faster and keep your readers very happy.
Now you have the tools to create stunning visuals easily. We have covered banners, widgets, and how AI can save time. Next, we will learn how to install your new design. You are almost ready to show your blog to the world!
How do I install the new design?
Setting up your new blog design is like moving into a new home. You have all your beautiful furniture ready. Now, you just need to place it in the right spots. Don't worry if the technical side feels a bit new.
We will take this one step at a time together. The Naver Blog admin interface is very friendly once you know where to click. I will guide you through the process of making your blog look professional.
If you ever feel stuck, you can check the Naver Blog Customer Center for help. They offer great tips for troubleshooting common technical issues. Let's start by opening your blog's management menu.
Setting the correct layout type
First, you need to choose a layout that fits a wide design. Go to your blog settings and look for the Layout/Widget menu. This is where you decide how your content flows on the screen.
Most professional blogs use a single-column layout without sidebars. This creates a clean look that lets your header design shine. It also helps readers focus on your stories without distractions.

You should also check your aspect ratios for your main images. Using the right dimensions ensures your design does not look stretched or blurry. This simple step makes a huge difference in how trustworthy you appear.
Consider how a local bakery called Sweet Crumb updated their blog. They switched to a wide layout to show off big photos of their bread. Their visitors stayed 40% longer because the site was easier to browse.
They realized that a messy layout was confusing their customers. By choosing a simple structure, they made their shop look much more reliable. You can find more layout ideas in the Cafe Naver community groups.
Applying the custom background skin
Now it is time to upload your custom background image. In the design settings, look for the Remocon tool. This tool lets you change colors and upload your own skins easily.
Select the option to upload a direct skin and pick your file. Make sure you are using the best image file types for the web. High-quality files like PNG or JPEG work best for clear text and bright colors.
Once uploaded, adjust the header height to match your design. Sometimes images don't fit right because they weren't made for the specific platform. Many small teams use Veeso AI to create perfectly sized images.
A freelance photographer named Maya used this method to refresh her brand. She uploaded a high-resolution skin that showcased her best work. She noticed that more people emailed her after she changed her blog's look.
Maya found that professional design software can often be too complex for quick updates. She preferred using simple web design assistants to keep her content fresh without spending hours on layouts.
Linking widgets with HTML code
Widgets act like buttons that take readers to other pages. To make them work, you need to use a tiny bit of code. You can learn the basics of an HTML link syntax very quickly.
You will need to use the Widget Register button in your layout settings. Here, you paste a short code that tells the blog where to go when someone clicks. It usually looks like a simple link tag.

To get the image address for your widget, try using the Smart Editor 2.0. You can upload your icon to a private post and copy the image link. This old trick still works wonders for custom blog designs.
Always remember to add alt text to your images for accessibility. This helps visually impaired readers understand what your buttons are for. It is a kind way to make your blog open to everyone.
A tech startup used this widget method to link their blog to their shop. They created five custom buttons for their top products. By using clear links, they saw their shop traffic grow by 25% in one month.
If you want to see exactly how to do this, watch some YouTube guides. Video tutorials show you every click so you don't miss a thing. Seeing the process in real-time can make the technical parts much easier.
Taking the time to install your design correctly shows that you care about your brand. When your blog looks polished, people are more likely to trust what you say. Modern tools like Veeso AI can help you start.
Now that your design is installed, you might wonder how to keep people interested. In the next section, we will talk about what keeps your readers coming back for more. Let's keep your momentum going!
What keeps readers coming back?
Designing your blog is just the first big step. You also need to keep it looking fresh every day. A clean space makes your readers feel very welcome. It shows them that you care about their experience.
Many successful creators look at visual engagement trends to stay relevant. They know that good design keeps people reading for longer. Consistency tells your readers that you are a reliable expert.
Creating consistent post thumbnails
Thumbnails act like small covers for your stories. When they look similar, your blog feels very organized. This uniform look builds a strong visual consistency for your brand.
A travel blogger named Mia tried a new layout. She used the same font and colors for every post cover. Her return visitors increased by 30 percent in two months. Readers recognized her posts instantly in their busy feeds. This simple change made her whole blog look more professional.
Using Veeso AI helps you create these graphics very quickly. It ensures your style stays the same across every new post. Many teams use Veeso AI to save time on daily designs.

You should also focus on thumbnail optimization for better clicks. Simple images with clear text usually perform the best. High contrast helps your covers stand out on mobile screens.
Updating visuals for seasonal relevance
Your blog should feel like it lives in the present. Adding seasonal colors or icons shows you are active. You can plan these changes using editorial calendars to stay ahead.
A small bakery blog changed its banners every three months. They used warm orange tones and leaves for the autumn. This small update led to 20 percent more social shares. It proved to readers that the shop was still busy. Seasonal updates keep your loyal fans excited for what is next.
You can easily adjust your look with Veeso AI for holidays. It lets you swap colors and images in one click. Keeping your brand fresh has never been this simple for teams.
Many creators also follow graphic design trends 2024 to stay modern. Using current styles shows that your brand is forward-thinking. It helps you connect with younger audiences who value style.
Analyzing engagement with Naver Analytics
Data helps you understand what your readers really enjoy. You should look at the intersection of design and copy often. This balance is what makes a blog post truly successful.
A math teacher used tracking tools for her lesson blog. She found that posts with infographics were shared more often. Her students stayed on those pages for five minutes longer. This data helped her choose better images for future lessons. She stopped guessing and started using what worked for her class.
You can use a Naver Analytics help guide to start. These tools show you which headers get the most clicks. Knowing your numbers helps you build a much better blog.

Keeping a blog takes time but the rewards are great. A beautiful and consistent design builds trust over many months. We hope these tips help you grow your online home.