Business Card Print Setup and Proof Guide
Get your business card file print-ready with the right dimensions, bleed, safe zone, and color settings. Follow each step to avoid clipped text, white edges, or color shifts. Export a clean PDF and hand it off to any printer with confidence.
Three Ways to Generate print-ready business card layout
Describe Your Card Details and Generate an Editable Layout
If you know what your card needs to say but haven't started designing, describe the content and style in plain text and let an AI design tool build the layout around it. Veeso AI takes your pasted copy and produces a structured, editable business card layout you can refine for print. Every element stays live, so you can move text into the safe zone, adjust type sizes, and export a print-ready PDF when you're done.
- Auto-places name, title, and contact details in a readable hierarchy
- Generates layout with bleed area already factored into canvas size
- All text boxes remain editable for proofing and copy changes
- Export to high-resolution PDF with crop marks for printer handoff
Start From a Bleed-Correct Business Card Template
A template built to print specs saves you from setting up canvas size, bleed, and safe zone margins from scratch. Pick a style that fits your industry or brand tone, then swap in your own copy, logo, and colors. Because the template is fully editable, you can verify that nothing critical sits too close to the trim line before you export.
- Templates pre-sized at 3.5 × 2 in with 0.125 in bleed on all sides
- Safe zone guides visible while editing so text placement stays correct
- Swap fonts, colors, and logo without disrupting the layout structure
- Download as print-ready PDF or high-resolution PNG for any printer
Paste Your Existing Copy and Turn It Into a Designed Card
If you've already written out your name, title, company, and contact details in a document, you don't need to start from a blank canvas. Import or paste that content and let the tool structure it into a polished business card layout ready for print setup. You still control every layer, so proofing for CMYK color, font embedding, and safe zone placement is straightforward before the final export.
- Imports text from a document and maps it to card layout fields
- Editable output lets you reposition elements to respect safe zone margins
- Check and adjust CMYK color values directly in the design file
- Export a printer-ready PDF with embedded fonts and crop marks included
Why choose Veeso for your editable business card design file
Keep Bleed and Safe Zone Margins Accurate From the Start
One of the most common reasons business cards come back from the printer with cropped text or white edges is a file that was never set up with correct bleed and safe zone margins. When your layout is fully editable, you can adjust every element to sit inside the safe zone before you export. That means fewer reprints and no last-minute scramble to fix a file the printer flagged.
Try It Free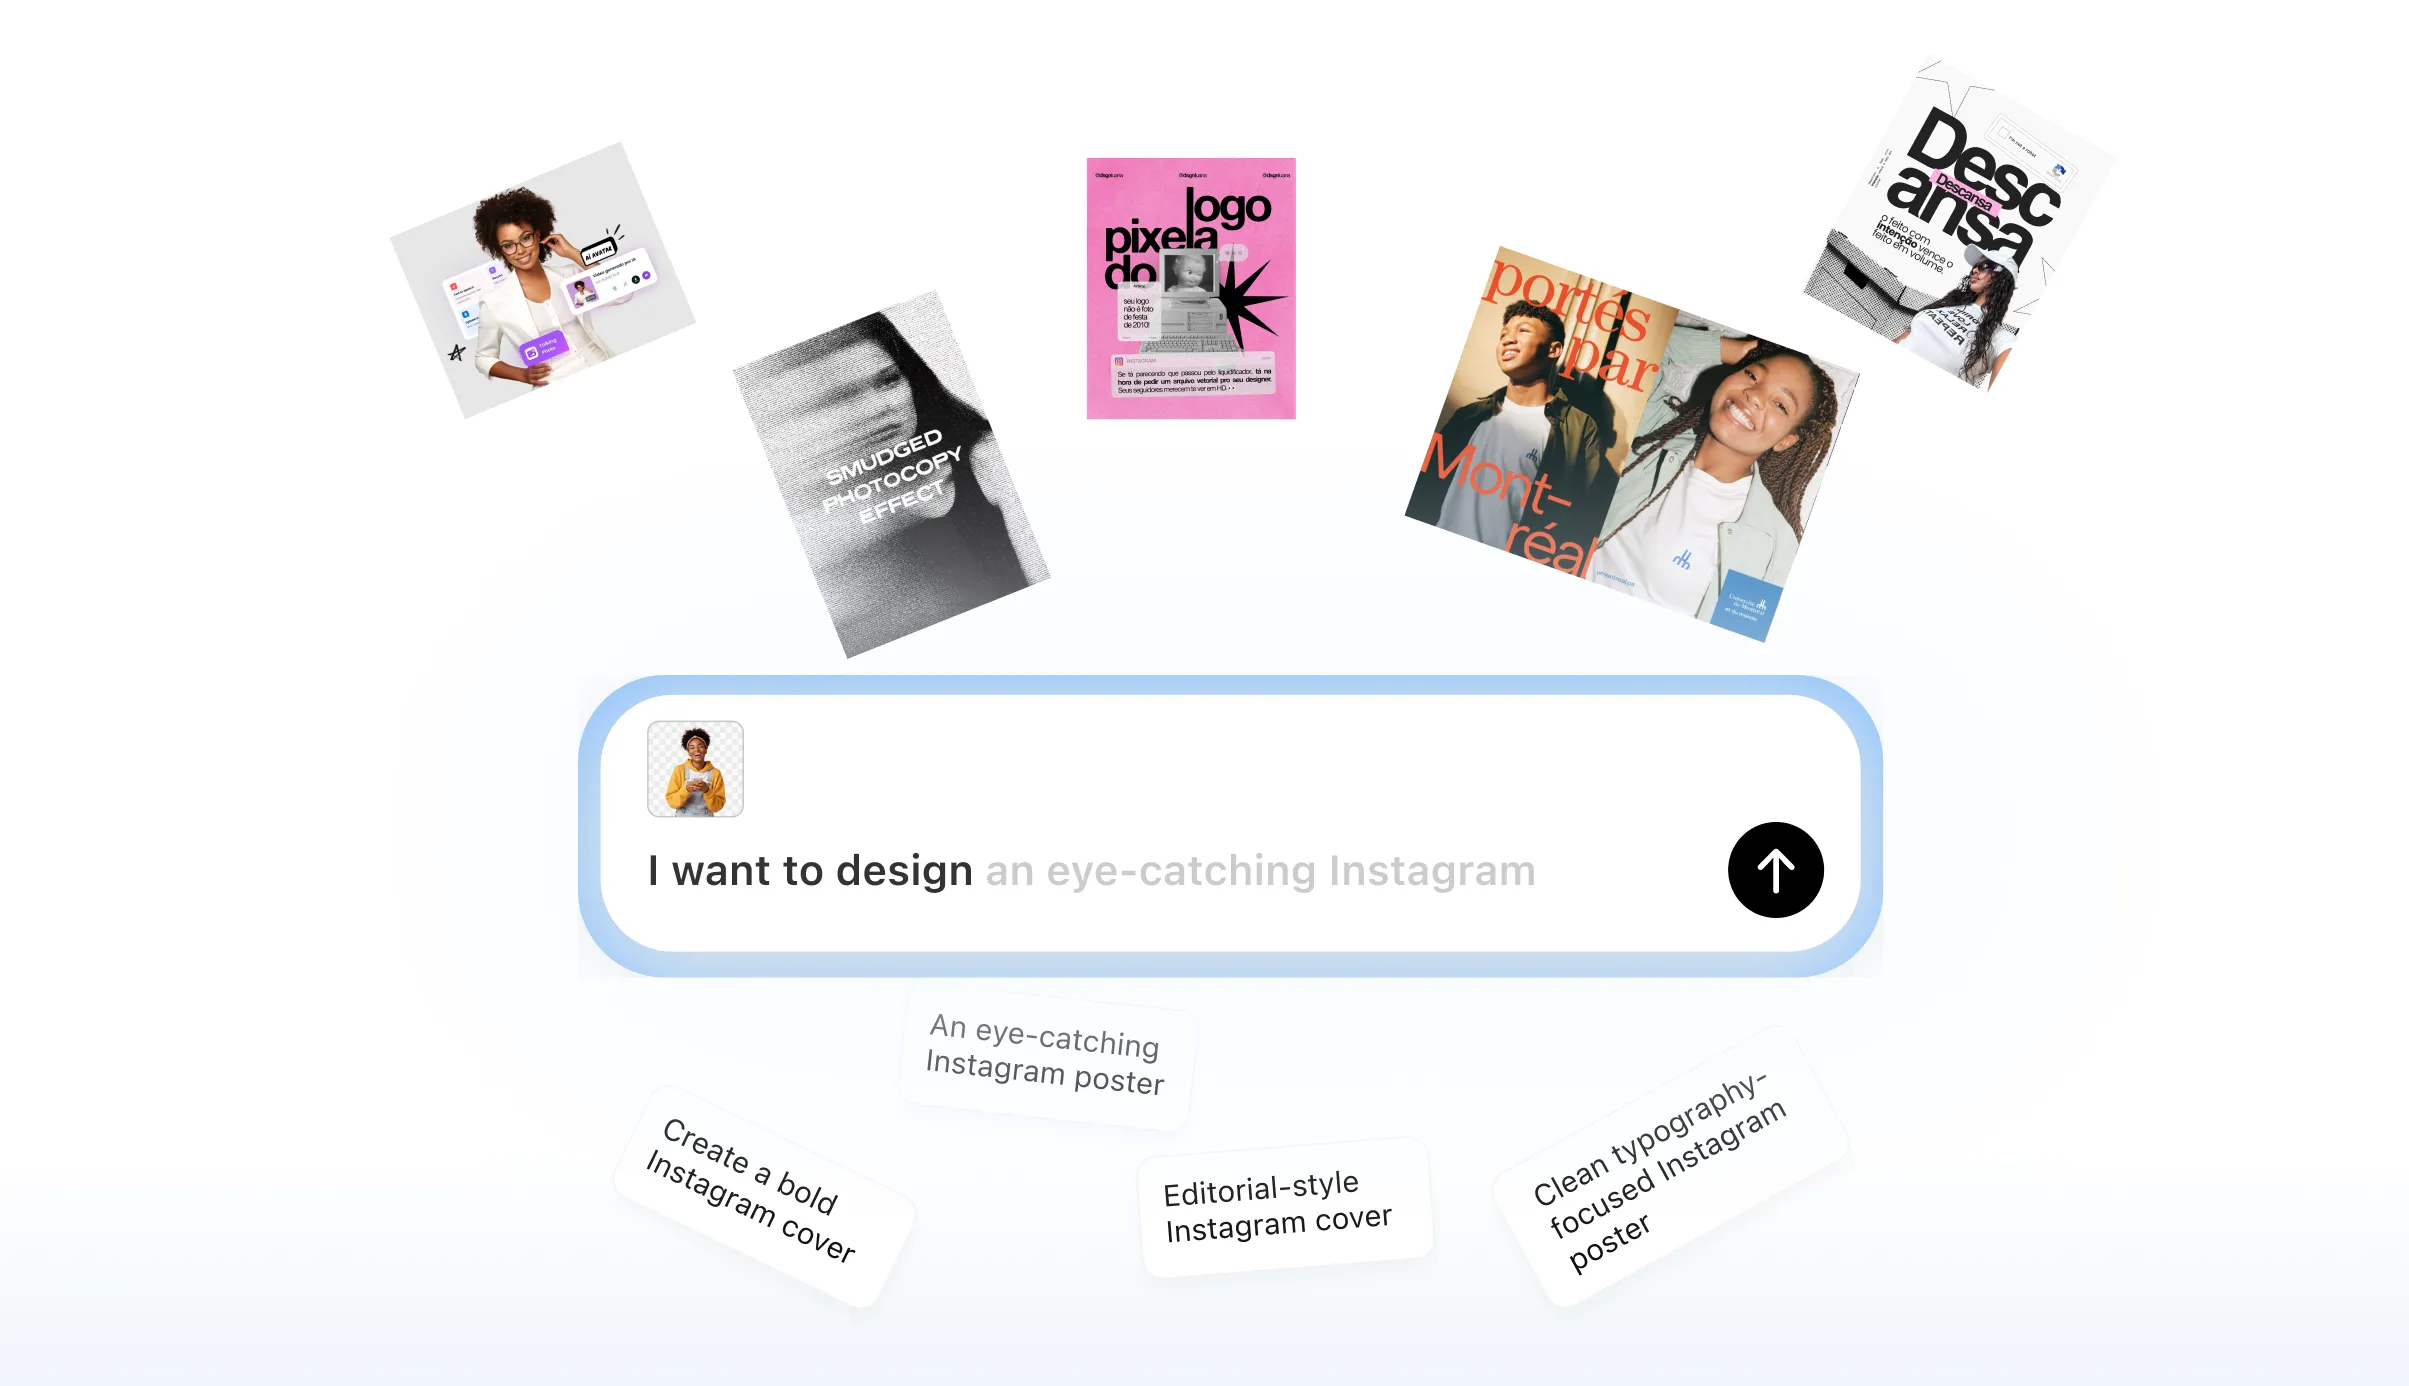
Edit Copy and Layout Without Rebuilding the Whole File
A title change, a new phone number, or a tweaked job title should take seconds, not an hour. Working in an editable design file means every text box, logo, and color block stays live and adjustable. You can proof the updated version, confirm it reads correctly at small sizes, and export a fresh print-ready PDF without touching the underlying structure.
Try It Free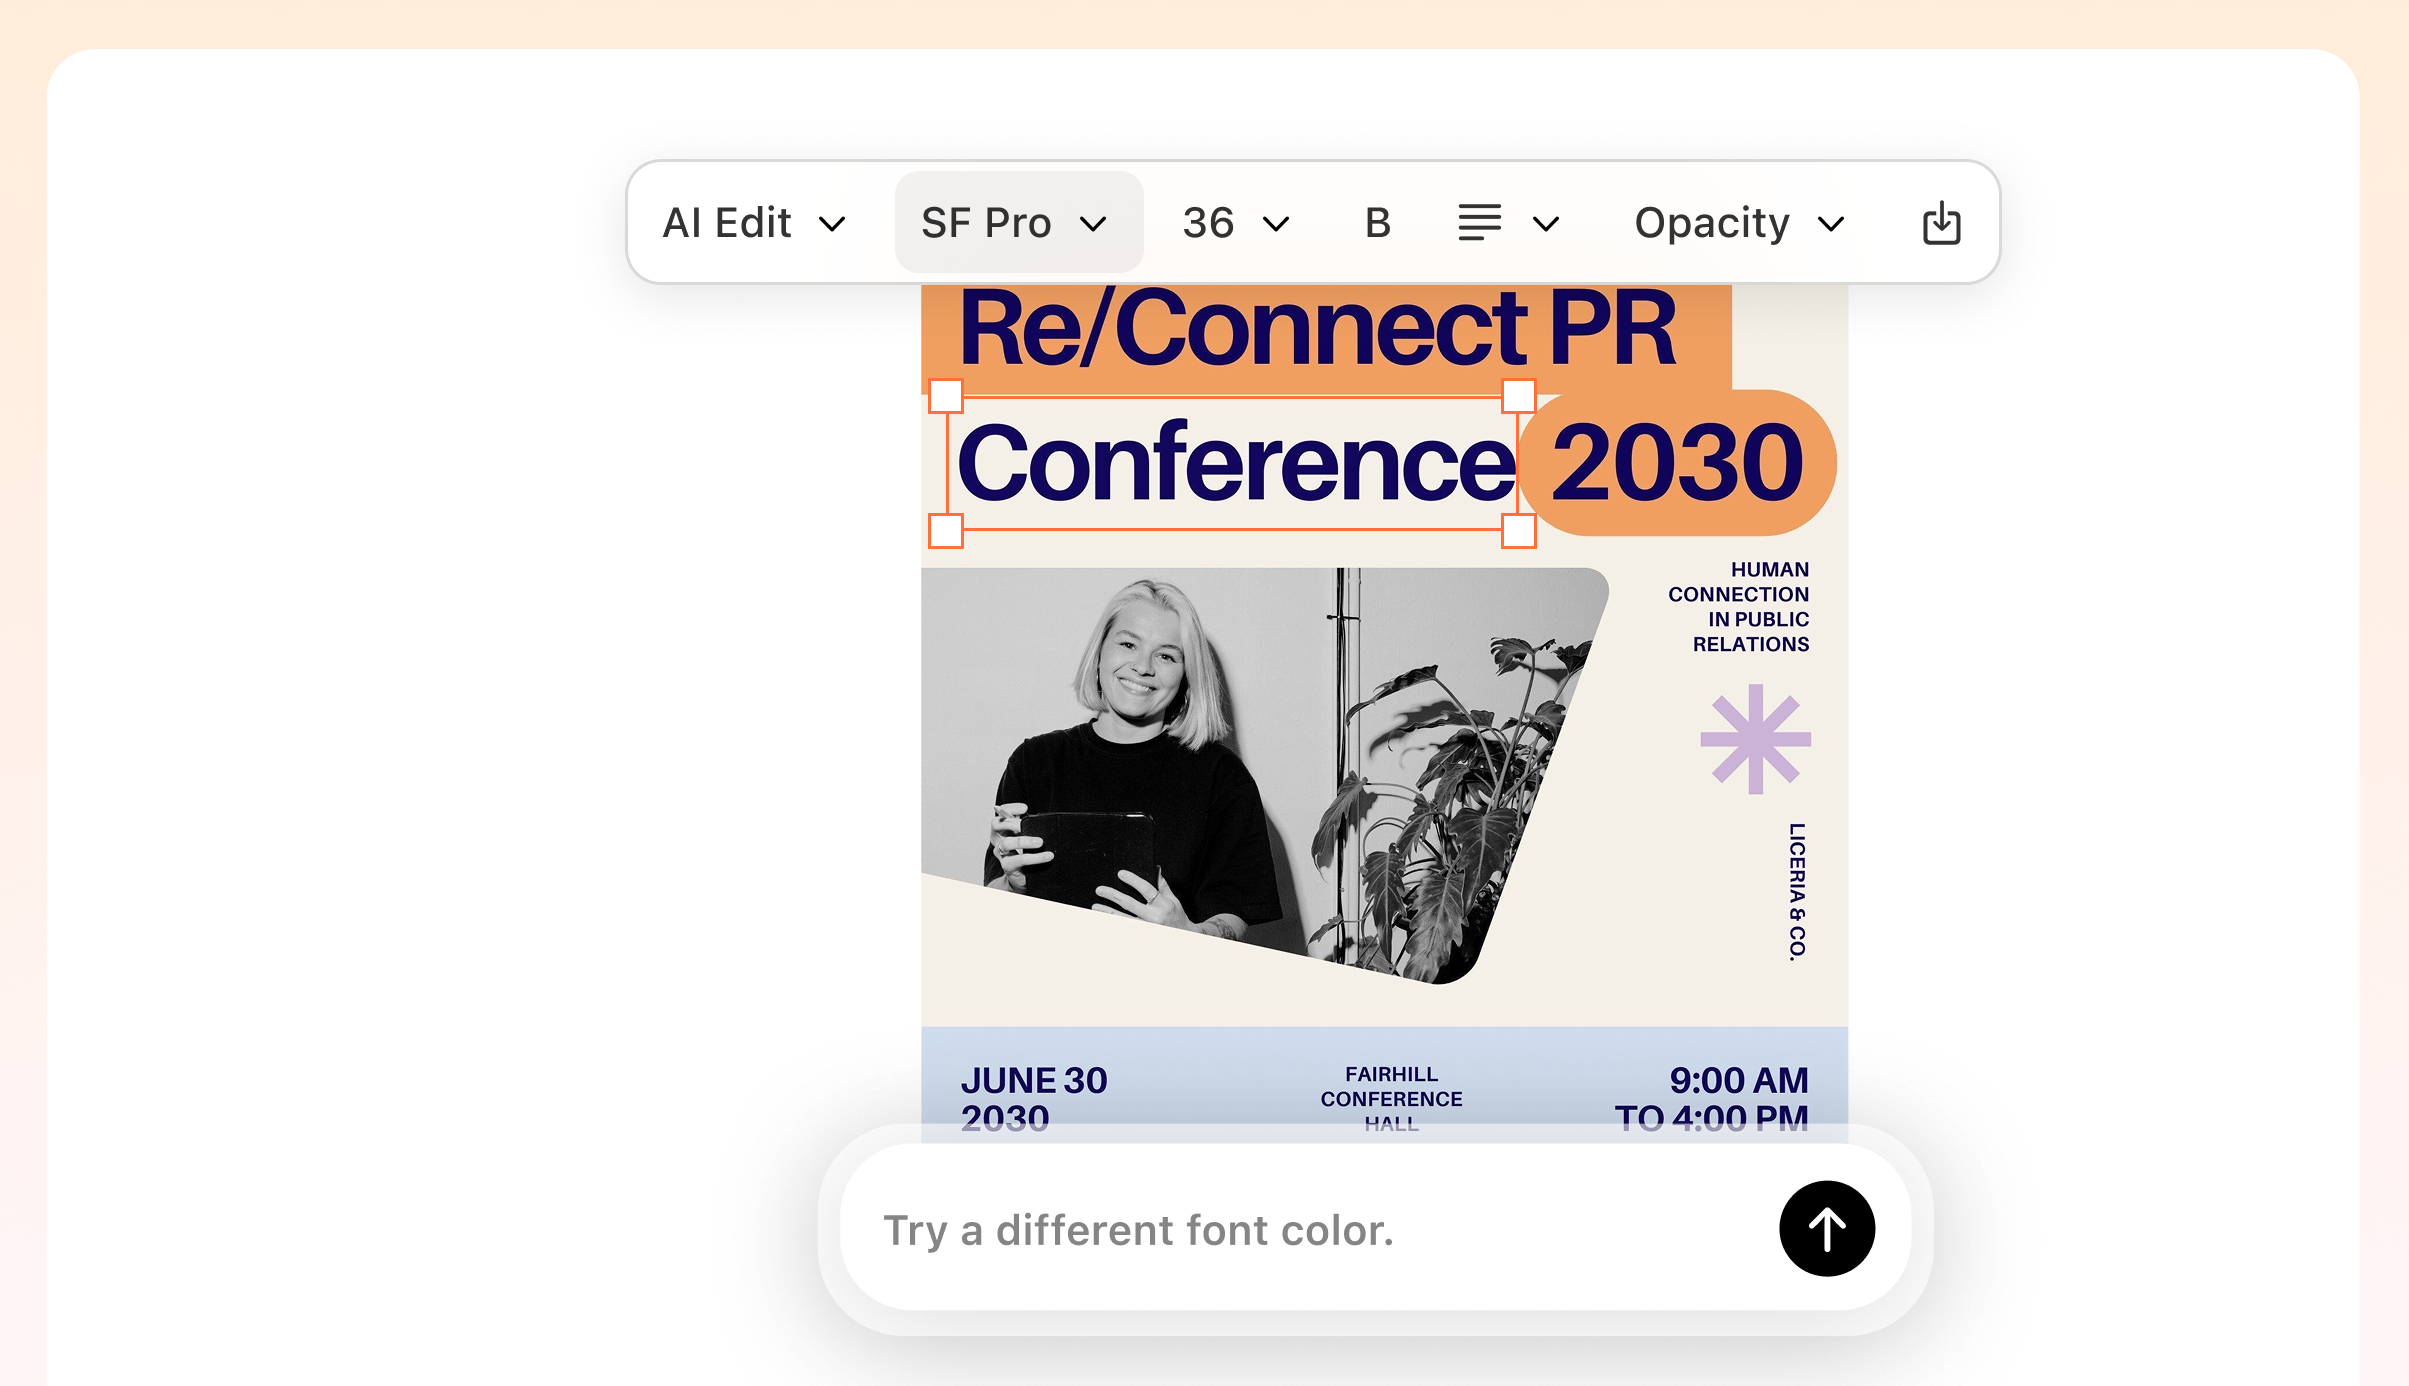
Catch Typography Problems Before They Reach the Press
Small type looks fine on screen but can blur or break apart on a printed card if the font isn't embedded or the size drops below 7 pt. An editable layout lets you select each text element, check the point size, and confirm fonts are embedded before export. Fixing a typography issue in the file costs nothing. Fixing it after a print run does.
Try It Free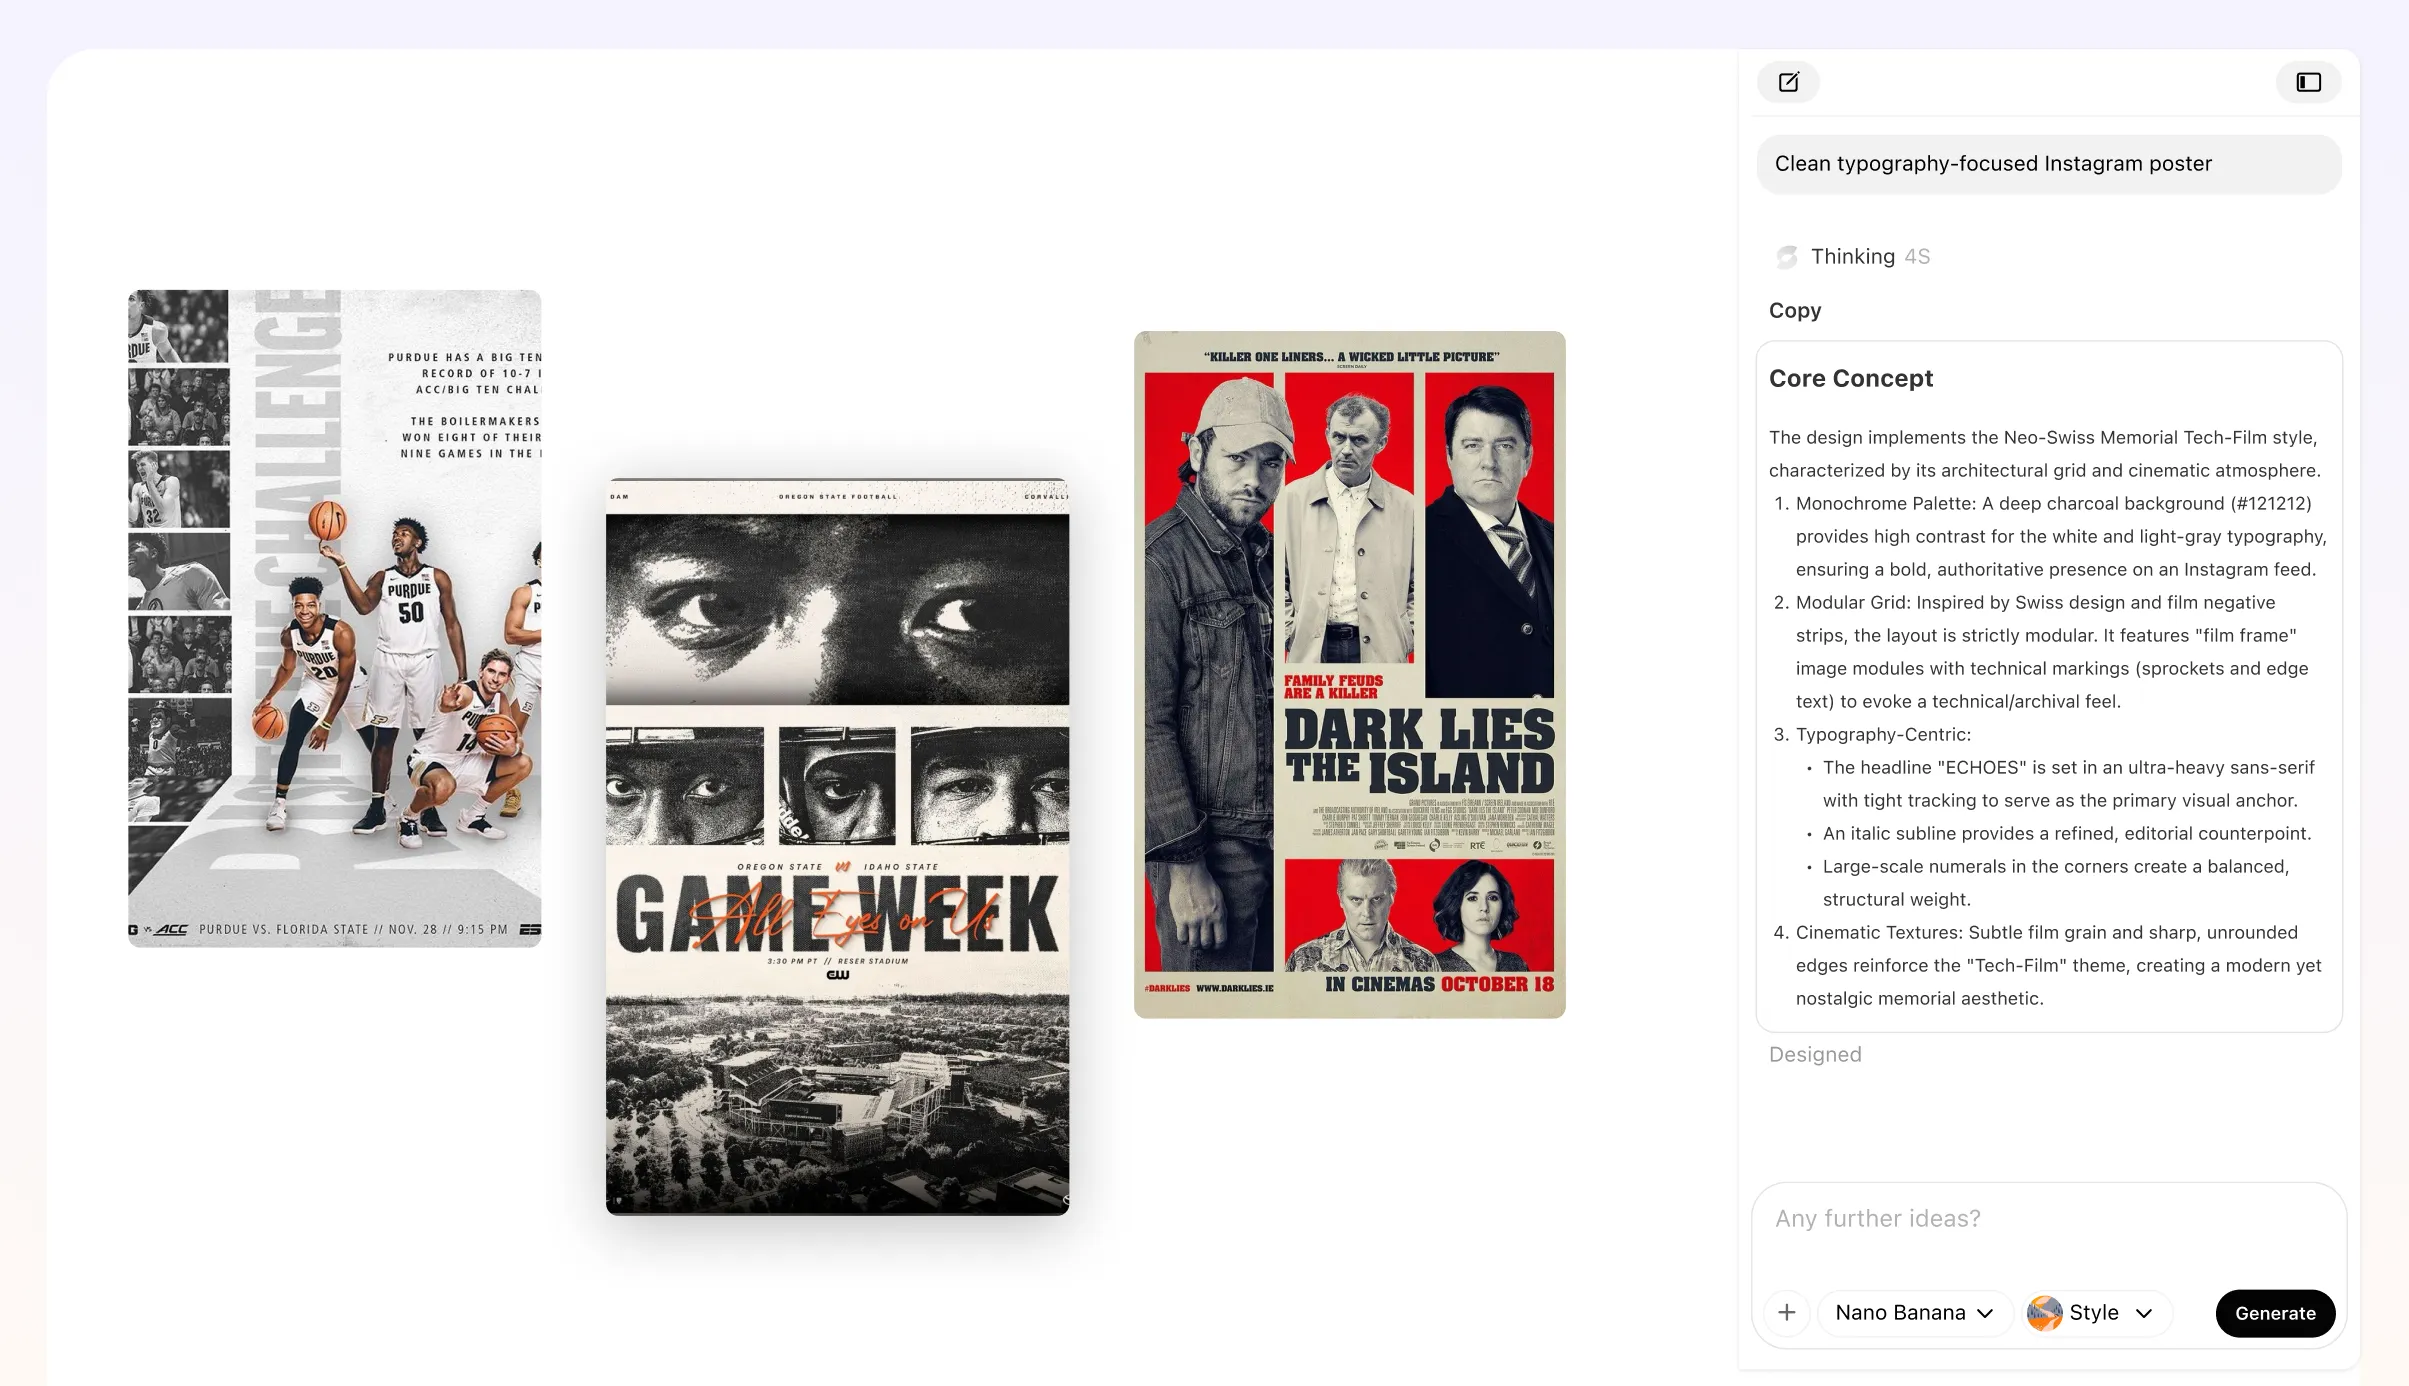
Export a Print-Ready PDF That Printers Can Actually Use
Commercial printers expect files in CMYK color mode, at 300 DPI, with crop marks and bleed included in the PDF. When your design file is fully editable rather than a flattened image, you control every export setting and can match exactly what the printer's spec sheet requires. That handoff goes smoothly instead of bouncing back with a list of corrections.
Try It Free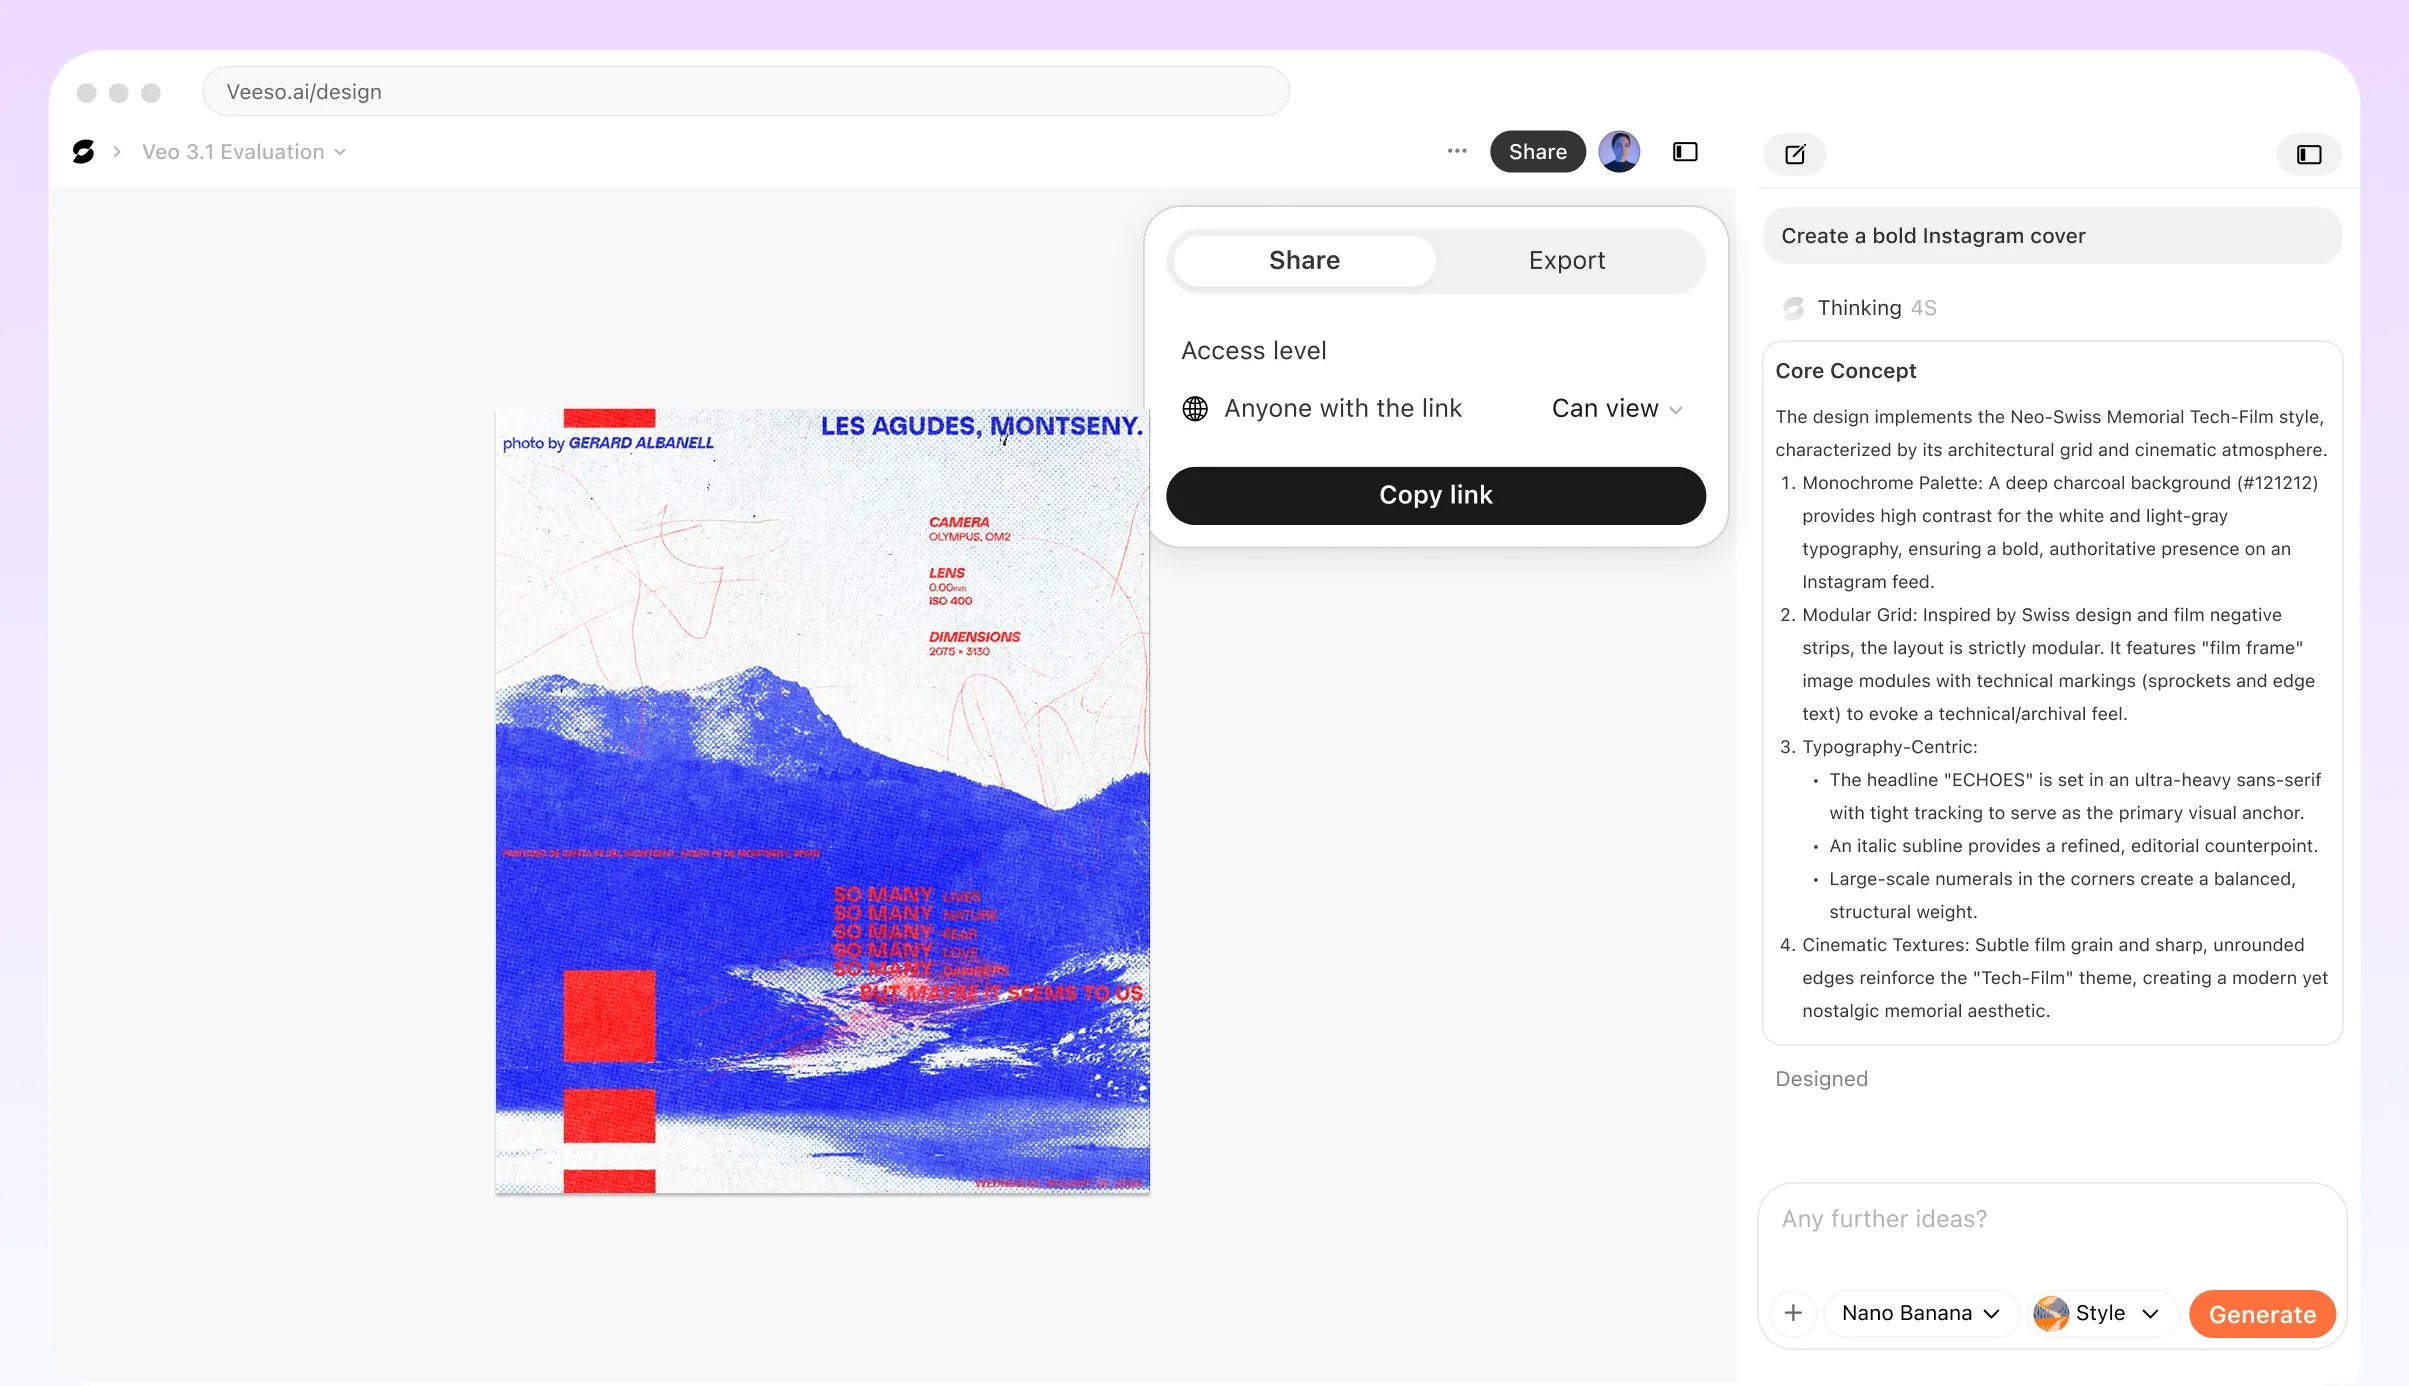
Who Needs a Business Card Print Setup and Proof Guide?
Freelance Designer Handing Off to a Commercial Printer
You've finished the design, but the printer keeps rejecting your file. Before you export, confirm your canvas is set to the standard 3.5 × 2 inch trim size with a 0.125 inch bleed on every edge. Switch your color mode to CMYK, embed all fonts, and export as a PDF/X-1a with crop marks visible. Include a printer handoff package with your color references and a brief spec sheet. This business card print setup process removes the back-and-forth that delays delivery and eats into your project margin.
Small Business Owner Printing Cards for a Trade Show
You're ordering 500 cards before a conference and can't afford a reprint. Set up your safe zone margin at least 0.125 inches inside the trim line so no name, phone number, or logo risks being clipped during cutting. Run a soft proof in your design tool to check for color shifts between your screen RGB view and the CMYK output. If your logo uses a specific brand color, supply the Pantone or CMYK value directly to the printer rather than relying on a screen screenshot. Catching these issues now costs nothing. Catching them after print does.
In-House Marketing Team Standardizing Cards Across Departments
When multiple team members submit business card files independently, inconsistent bleed setup, mismatched fonts, and varying resolution levels create a messy print run. Build one master template with locked bleed guides, embedded brand fonts, and a 300 DPI image placeholder. Distribute it as the approved starting point for every department. Veeso AI can help your team generate editable, on-brand card layouts from that template so each person fills in their own details without breaking the file structure. Export each version as a print-ready PDF before sending the batch to your vendor.
Photographer Printing Double-Sided Cards with Full-Bleed Images
A full-bleed photo on the back of a business card looks sharp in print only when the image extends past the trim line into the bleed area. If your photo stops exactly at the edge, the cutter leaves a thin white border. Place your image so it covers the full canvas plus the 0.125 inch bleed on all four sides. Check that the image resolution is 300 DPI at final print size, not just on screen. Raster artwork that looks fine at 72 DPI on a monitor will print soft and pixelated. Confirm this in your file before you submit.
Startup Founder Creating Cards for Multiple Team Members at Once
Printing cards for a founding team of five means five separate files, five rounds of proofing, and five chances for a typo to slip through. Set up one base layout with correct bleed, safe zone, and CMYK color mode, then duplicate it for each person. Proof every version individually before combining them into a single print imposition sheet. Some online print vendors accept an 8-up or 10-up layout on a single sheet, which can reduce unit cost. Veeso AI lets you build that base card layout and duplicate it into editable versions for each team member without rebuilding from scratch.
Nonprofit Coordinator Ordering Cards for Volunteer Staff
Volunteer coordinators often work with limited budgets and no dedicated designer, which makes print mistakes especially costly. If you're using a print-at-home business card template or ordering through an online print service, confirm the file dimensions match the printer's required trim size before you start designing. Many templates online are sized for screen display, not print output. Check that text sits inside the safe zone, that no critical information touches the bleed area, and that your exported PDF includes crop marks. A quick proofing checklist before you click submit can prevent a full reorder.
Why freelancers, small business owners, and in-house marketing coordinators Choose Veeso AI
How to Create High-Converting print-ready business card PDF
Set Your Canvas Size With Bleed on All Four Sides
Start with a document sized at 3.5 × 2 inches, then add 0.125 inches of bleed on every edge, bringing the total canvas to 3.75 × 2.25 inches. This extra bleed area gives the printer room to cut without leaving a white border if the blade shifts even slightly.
Place All Text and Logos Inside the Safe Zone Margin
Draw a guide 0.125 inches inside the trim line on all sides and keep every piece of important content inside that boundary. Anything outside the safe zone risks being clipped during cutting, which is how phone numbers and logos end up partially missing on finished cards.
Switch the Document to CMYK and Check Your Type Sizes
Change the document color mode to CMYK before you finalize any colors, since RGB values shift when converted at the printer and can make a navy blue look purple or a warm red look orange. While you're in the file, confirm that no body text drops below 7 pt, and that all fonts are embedded so thin strokes and small characters print cleanly.
Export a Print-Ready PDF With Crop Marks and Embedded Fonts
Export using PDF/X-1a settings, turn on crop marks, and confirm the bleed values match your document setup before saving. Run a soft proof to check color accuracy on screen, then send the file to your printer with a brief handoff note listing the trim size, bleed, and color mode so there's no guesswork on their end.
FAQ

Ready to Create Beautiful Editable Business Card Design File with Veeso AI?
Start Creating NowNo credit card required • Free to start • No design skills required
Explore More AI Graphic Design Use Cases
Discover more creative design scenarios powered by Veeso AI.